Six steps to building the perfect cooking campfire
Building a fire is so easy, even a caveman can do it.
So being in charge of the bonfire at our son’s birthday party a few years ago seemed a simple enough responsibility.
Until someone was kind enough to remind everyone that the bonfire would be built by a bona fide Eagle Scout. Suddenly, my every move was put under a microscope—from the amount of kindling I gathered to the number of matches I’d need to start the fire.
People were grabbing sticks, hot dogs and marshmallows as quickly as I wanted to grab some Rolaids.
Of course, the worry was all for nothing. The fire roared to life and the party was a success.
Many are making plans for similar gatherings around the Fourth of July holiday and summertime family camping trips. There is nothing more gratifying than cooking your food over an open fire, and as long as you prepare accordingly, there is no reason to stress about the process of using one of nature’s simplest elements to cook your meals.
Scouts are taught that there are many different ways to build a fire. A log cabin format consists of logs stacked in alternating layers like the frame of a log cabin. This setup is used typically for campfires where hot coals are needed for cooking.
A teepee fire is built by leaning numerous longer logs together in the shape of a teepee. These fires are common for bonfires or rescue fires where quick burning, lots of light and moderate heat are needed.
I’ve learned that a hybrid of these two fire-building methods can produce the most consistent overall results. You’ll need to make sure that your wood is as dry as possible (especially the kindling and smaller pieces).
It is also a wise idea to build your fire inside a fire ring of some sort.
Most campsites—even more primitive ones—provide a fire ring (some are built from old wheel rims, others from a circular pile of rocks). If you need to build your own, and plan to use rocks to line the outer limits of your fire, be sure to avoid sandstone—which is known to hold in extra moisture and can actually explode when heated quickly by a fire.
Once you have a fire ring in place, follow these steps to a successful fire-building experience:
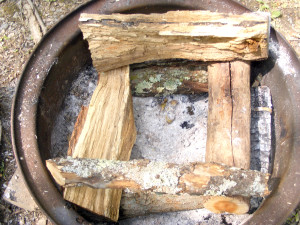
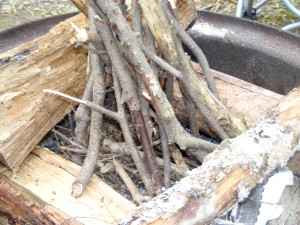
1. Start with the log cabin component by layering your larger logs in alternating layers on the outermost parts of your fire ring. Be sure to leave a large gap in the middle of your cabin structure. Dry wood is optimal here, but usually slightly damper wood will still work as long as your inner teepee fire produces enough heat to dry the outer cabin shell.
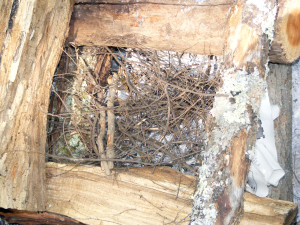
2. Inside your log cabin structure, start by balling up some newspaper or other fire-starting material (dryer lint, dry and flaky bark off trees or other forms of paper will work here, but newspaper seems to be the best). Be sure to let a piece of the newspaper ball poke through your log cabin structure so you have easier access later for lighting.
On top of the starting material, stack balled-up or broken pieces of squaw wood. Squaw wood is the extremely small end branches found on the bottom of most pine and hemlock trees. Even if there is a large downpour of rain, squaw wood typically stays dry and is a fire-building staple.
With the squaw wood (or in place of it if necessary), throw in pieces of small, dry sticks (no thicker than a pencil), dry bark and other wood pieces that will hold some heat.
Avoid using pine needles and leaves during the fire-building process since these usually burn out too quickly and don’t produce enough heat to light the next layer of your fire.
3. Use larger sticks (again, dry pieces are important) that are approximately pencil-width or larger to build a small teepee over the kindling and starter material from step two. Avoid using anything too wide for this part of the fire (anything wider than a quarter should be used in the outer log cabin structure in most cases).
For larger fires, it is fine to use larger logs for the teepee portion of your fire, just be sure to plan accordingly with a larger kindling pile below.
4. Once everything from the previous steps are in place, it is finally time to light the fire. One of the quickest ways to ruin your fire-building process is to get impatient and start lighting the fire before you are really ready. Much like knocking over dominoes before everything is in place, lighting a fire early will set you back to ground zero.
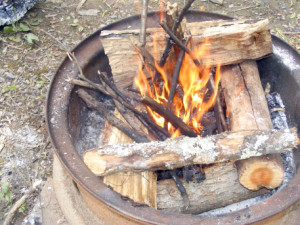
Light the newspaper ball that you left sticking outside of your log cabin structure. Be sure that heavy winds or other unfavorable conditions don’t snuff out your fire before it really gets going.
The flames should catch the starter material and kindling fairly quickly, and then begin burning your teepee structure. Lastly, the insides of your log cabin pieces will start to char and catch on fire.
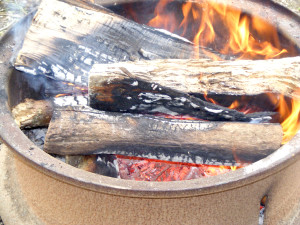
5. As the center of your fire burns down and the larger logs on the outside of the fire begin to catch, you can slide your log cabin pieces more to the center. This helps lower the overall burning time and will lead to your hottest coals piling up in the middle of the ring.
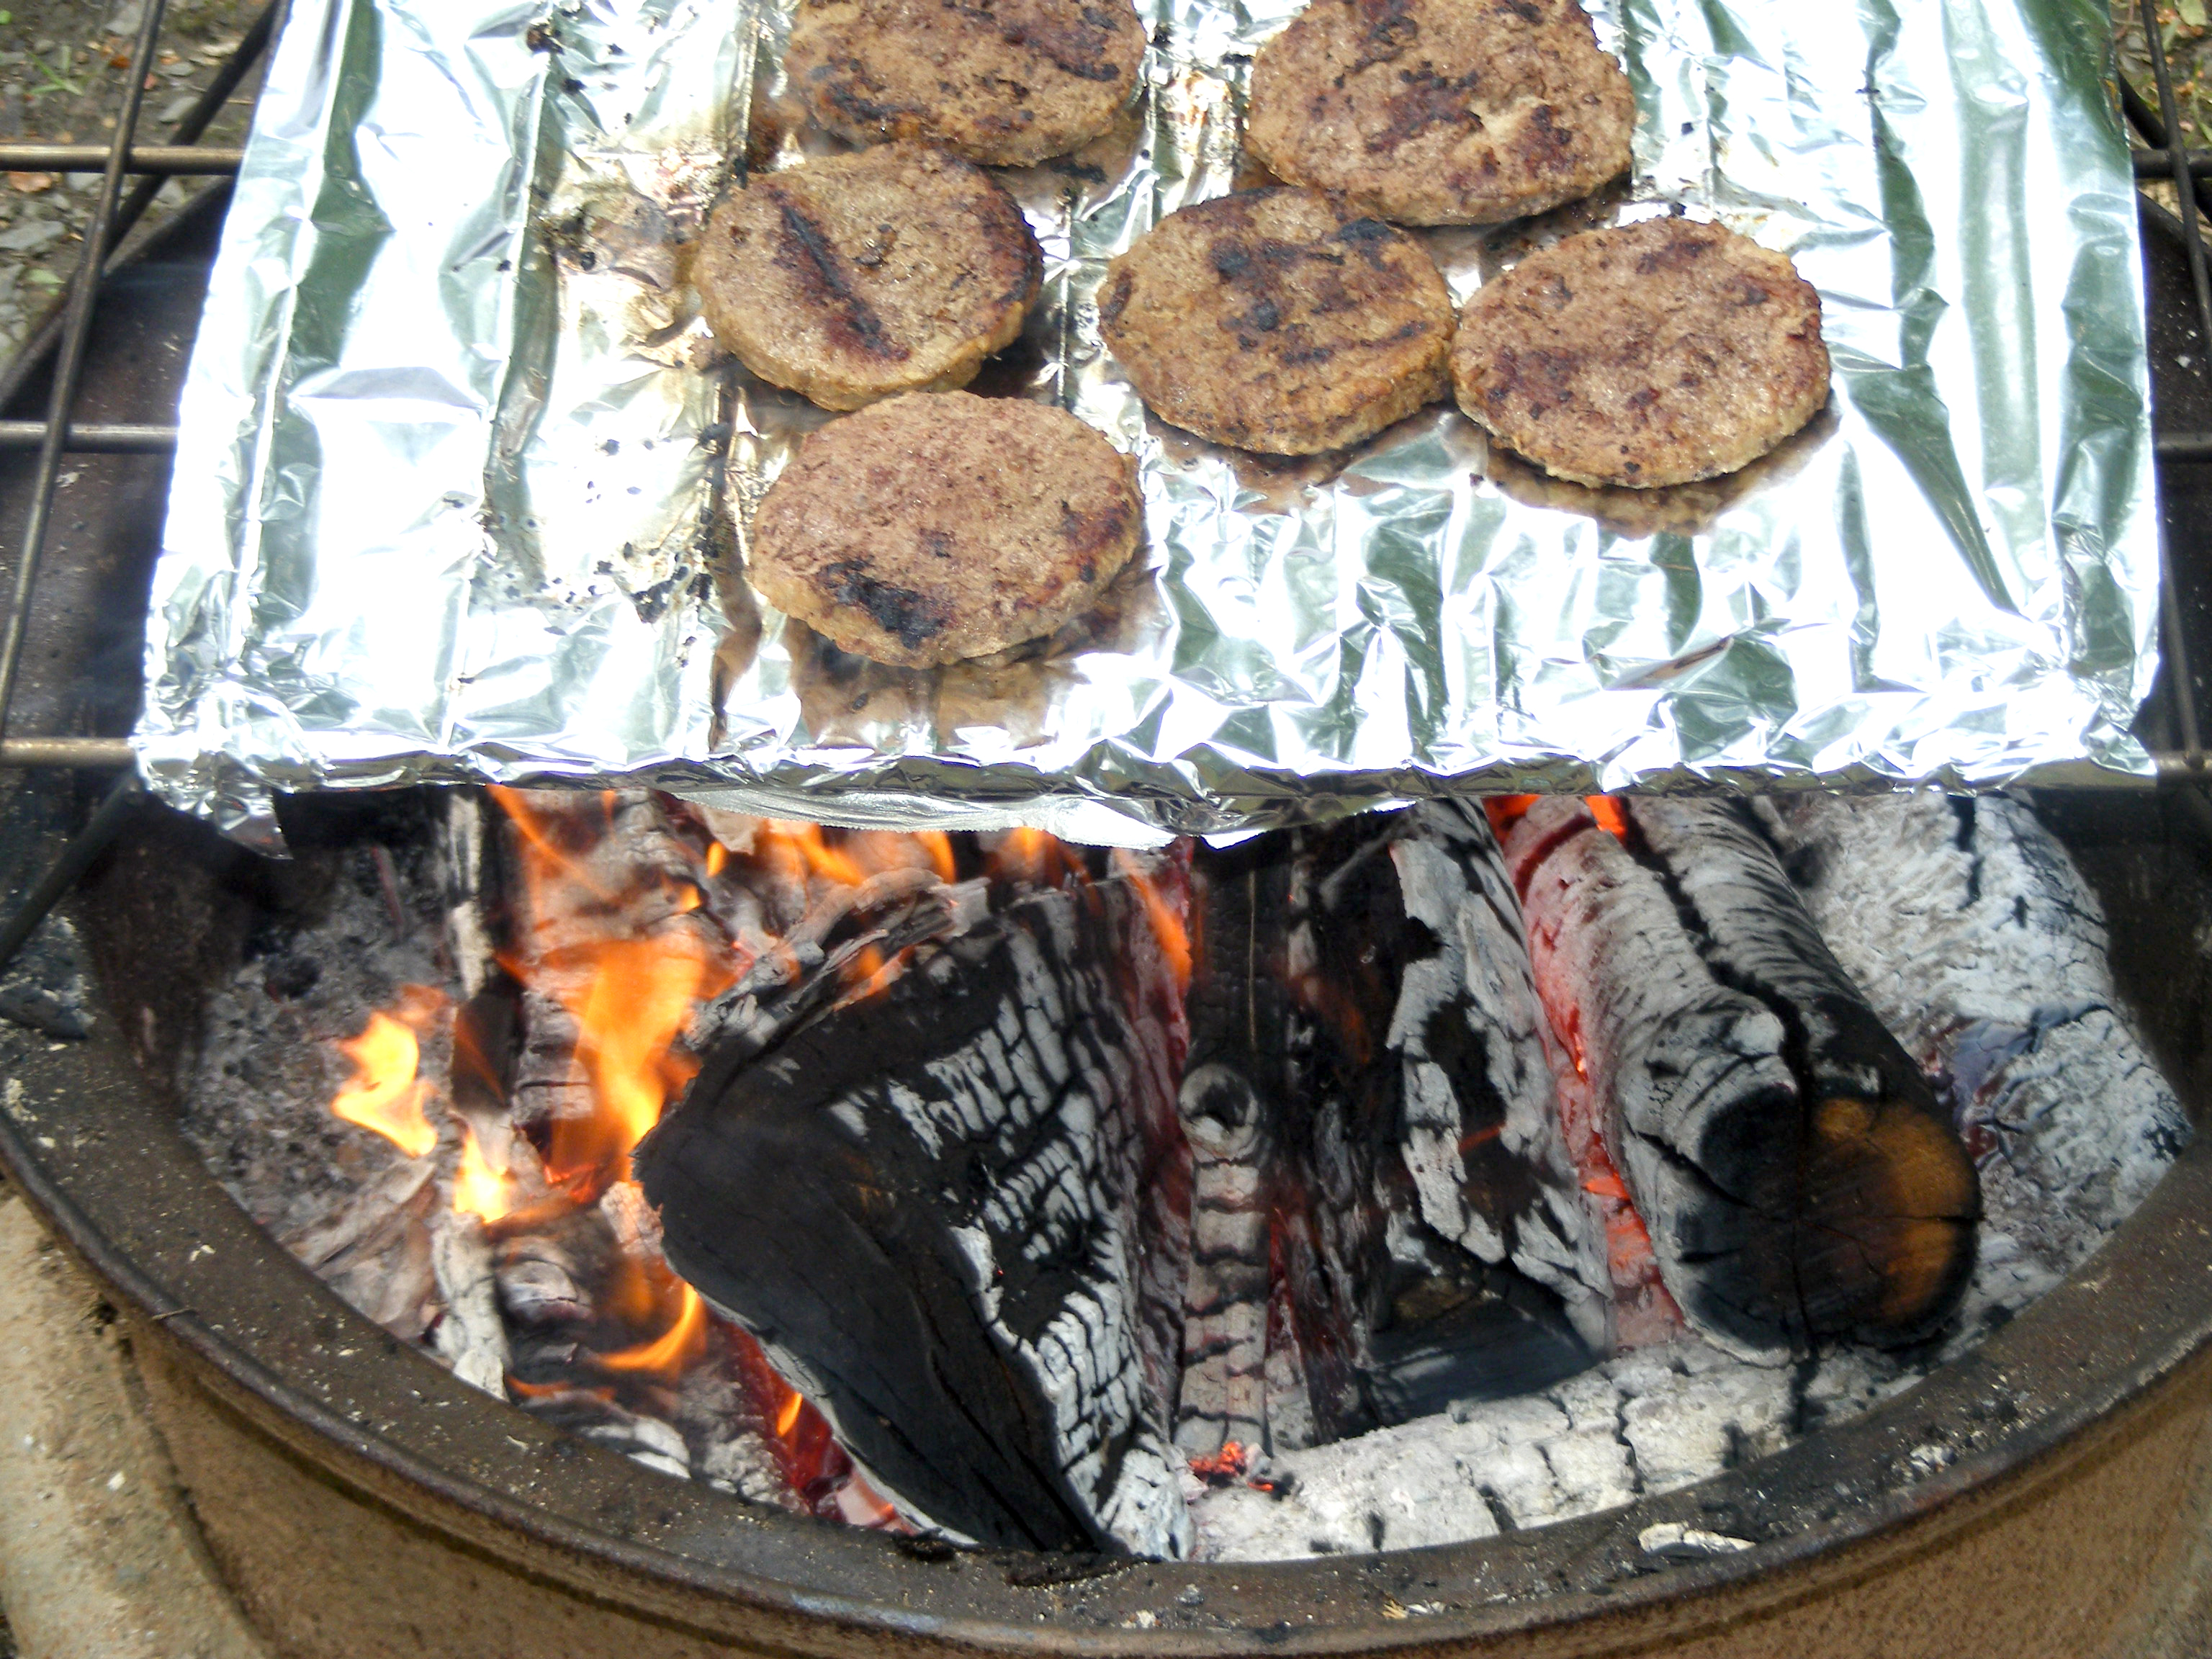
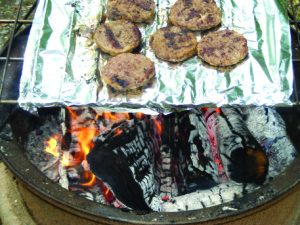
6. For best results when cooking over fire, be sure you wait until the logs are fully engulfed and burn down to red coals. Cooking over flames may work at times for marshmallows and sometimes for hot dogs, but the best cooking surface is over white and red ashes and coals.
You can use a metal rack (making the cooking similar to grilling over a charcoal grill), sticks or spits for roasting quicker foods such as hot dogs or seal food in foil and cook it directly in the coals.

